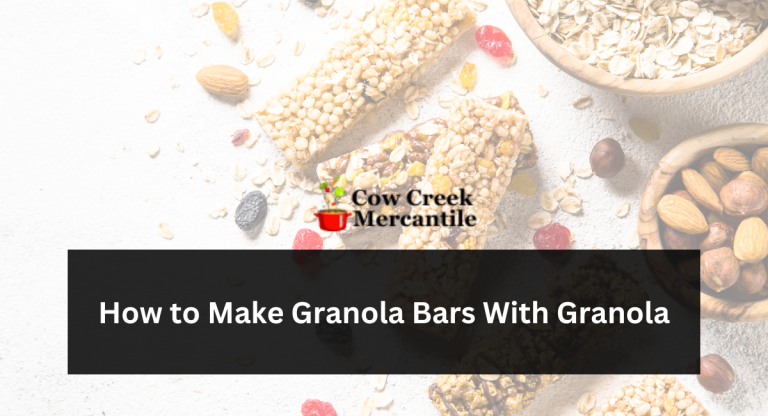
Granola bars are a fantastic snack, perfect for a quick energy boost during a busy day or a wholesome addition to your kids’ lunchboxes. While store-bought options abound, there’s something incredibly satisfying about crafting your own granola bars at home. Not only do you get to choose your favorite ingredients, but you also have control over their nutritional content. In this guide, we’ll walk you through the step-by-step process of creating delicious homemade granola bars that are both healthy and customizable to your taste.
Ingredients:
- Cooking spray
- 2 cups rolled oats
- ½ cup shredded coconut
- ½ cup honey
- 2 tablespoons creamy peanut butter
- 1 teaspoon vanilla extract
- ⅛ teaspoon salt
Are Homemade Granola Bars Healthy?
The beauty of homemade granola bars lies in their versatility. You can tailor the ingredients to match your specific health goals and dietary preferences. Our featured recipe is a fiber- and protein-packed delight, incorporating rolled oats, shredded coconut, and peanut butter. The sweetness comes from honey and vanilla extract, with a touch of salt to enhance the flavors. This recipe serves as an excellent foundation, and you can adapt it to your liking.
How to Make Granola Bars: A Step-By-Step Guide
Creating your batch of homemade granola bars is a breeze. Here’s a simple breakdown of the process:
1. Toast the Oats and Coconut:
Preheat your oven to 325°F (165°C) and grease a 9-inch square baking dish. Spread the rolled oats and shredded coconut evenly across a baking sheet. Toast them in the preheated oven until they turn a delightful shade of brown, approximately 10 minutes. Once done, transfer them to a large mixing bowl.
2. Mix the Flavorful Base:
In a saucepan over medium-low heat, combine honey, creamy peanut butter, vanilla extract, and a pinch of salt. Stir diligently until the mixture becomes smooth and well-blended.
3. Combine and Bake:
Pour the delectable peanut butter mixture over the toasted oats and coconut in your mixing bowl. Stir until all ingredients are evenly coated. Spread this delightful mixture evenly into your prepared baking dish.
4. Achieve Your Preferred Texture:
Pop the dish into the preheated oven for a final bake. The duration depends on your preference – around 15 minutes for crunchy granola bars or less if you prefer them chewy. Allow the bars to cool completely before cutting them into satisfying portions.
Nutritional Benefits of Granola Bars
Granola bars can offer a range of nutritional benefits depending on their ingredients. Here are some of the potential nutritional benefits of granola bars:
- Energy Boost:
- Granola bars are often packed with carbohydrates, which are the body’s primary source of energy. They provide a quick and convenient way to refuel during or after physical activities.
- Fiber:
- Many granola bars contain oats, nuts, and seeds that are high in dietary fiber. Fiber helps with digestion, keeps you feeling full longer, and can help regulate blood sugar levels.
- Protein:
- Some granola bars are fortified with protein, which is essential for building and repairing tissues in the body. Protein can also help keep you feeling satisfied between meals.
- Healthy Fats:
- Nuts and seeds found in granola bars often contain healthy fats like monounsaturated and polyunsaturated fats. These fats are heart-healthy and can help reduce the risk of cardiovascular diseases.
- Vitamins and Minerals:
- Depending on the ingredients, granola bars can be a source of essential vitamins and minerals. For example, nuts and seeds can provide vitamin E, magnesium, and zinc.
- Antioxidants:
- Ingredients such as dried fruits, nuts, and dark chocolate chips may contain antioxidants. Antioxidants help protect cells from damage caused by free radicals and may have various health benefits.
- Low Sugar Options:
- Some granola bars are designed with low added sugar content. This can be beneficial for those looking to reduce their sugar intake or manage blood sugar levels.
- Convenience:
- Granola bars are convenient and portable, making them a suitable on-the-go snack option. They can help prevent overindulging in less healthy snack choices.
- Customization:
- Homemade granola bars offer the advantage of customization. You can control the ingredients, tailor them to your nutritional needs, and avoid unwanted additives.
- Weight Management:
- When consumed mindfully as part of a balanced diet, granola bars can be a helpful tool for weight management due to their portion control and satiating properties.
How to Store and Freeze Granola Bars: Tips for Longevity
- To keep your homemade granola bars fresh, store them in a shallow, airtight container with parchment or wax paper layers to prevent sticking. Alternatively, wrap each bar individually in wax or parchment paper. This way, they should remain delicious for about a week.
- Want to make a larger batch for future cravings? Homemade granola bars freeze wonderfully! Simply arrange them in a single layer on a baking sheet, cover, and freeze for several hours or overnight. Once frozen, transfer the bars to a zip-top freezer bag or another freezer-safe container. When you’re ready to enjoy them, allow them to thaw at room temperature.
Conclusion:
In conclusion, creating your homemade granola bars is not only easy but also immensely rewarding. You have the flexibility to make them as nutritious and delicious as you desire. Whether you prefer a crunchy or chewy texture, this recipe serves as an excellent starting point for your culinary journey.
Remember, experimentation and personalization are key when it comes to granola bars. Embrace your inner chef and add your own twist to these delightful snacks. Happy snacking!